Synology DS1621xs+ – Part 1, what is it?
Quick Links
Part 1 – This Page
Part 2 – RAID selection and virtual machine deployment
Part 3 – SSD Read / Write Cache
Background
The good folks over at Synology have been kind enough to loan me a Synology DS1621xs+ to review and play around with. What is a DS1621xs+ I hear you ask? It is a 6 bay desktop NAS (Network Attached Storage) powered by an Intel Xeon D-1527 4-core 2.2 GHz processor with expandable memory capacity and room for a couple of M.2 SSD NVMe drives too. Head on over the Synology page to check out the spec in more detail.
In this post, I will cover what is in the box and initial setup but I am hoping to dive into some of the data protection features and virtual machine hosting capabilities in later blog posts. Synology has free functionality to protect Office 365 workloads as well as VMware based workloads, which is pretty cool in my book.
Who is Synology?
Synology as a company has been around since 2000, having created a heritage around building robust network attached storage devices for a multitude of uses to suit most budgets. Device form factors come in both desktop and rack mount with varying degrees of resilience built into those devices, such as redundant power supplies, redundant network cards and even redundant storage controllers. What is interesting for me is Synologies recent pivot to manufacturing (white labelling I think) their own line of hard drives as outlined in this blog post. For me, this puts them in a strong position to seek new opportunities in the enterprise business space by being able to offer end to end warranty services for all of the components in a device. Many other manufactures of similar type devices only support the NAS enclosures with a return to base warranty, which quite frankly does not cut the mustard for mission-critical type workloads. By offering validated designs and a 5-year warranty on their line of hard drives, they make a strong case to use Synology over the competition.
Setup
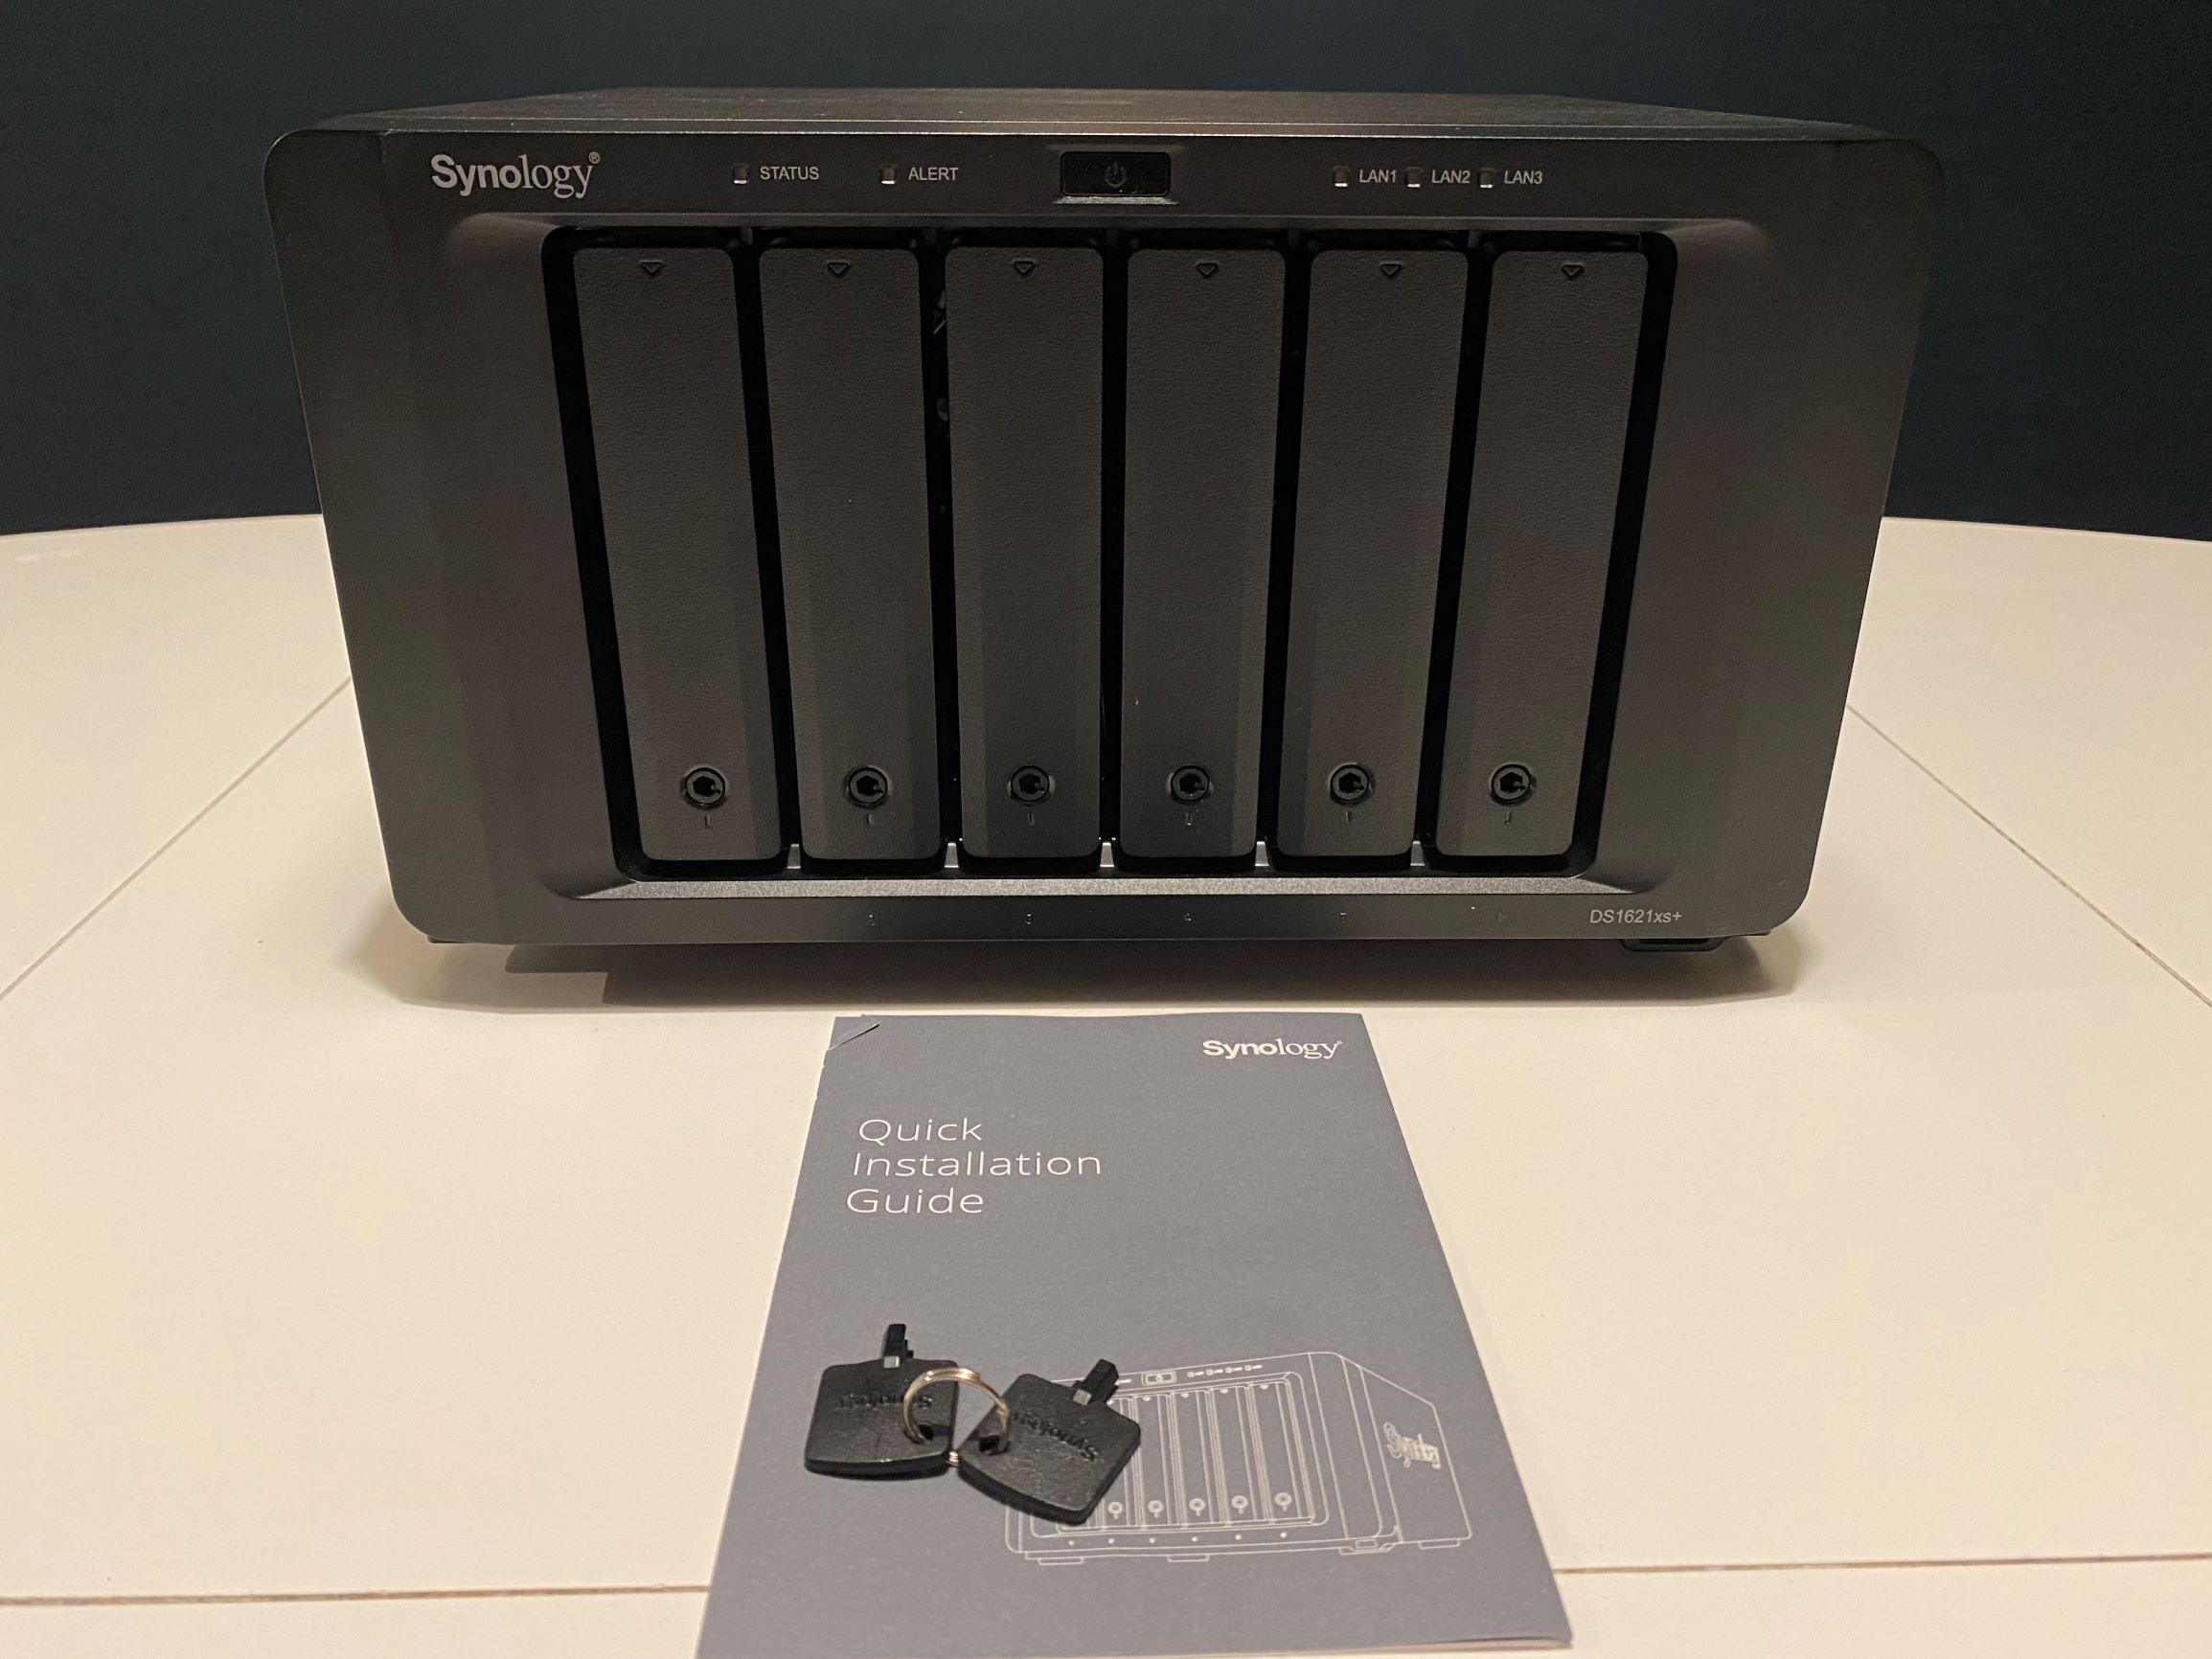
What is in the box?

A shiny NAS and six 8TB Synology HAT5300 Enterprise SATA drives. Lovely.

Six drive bays on the front.


On the rear, there are two 1GbE Base T ports, one 10GbE Base T port, two USB 3.0 ports, two eSATA expansion ports and one PCIe expansion slot.

On the bottom is the cover for the memory slots.

This particular unit shipped with 32GB of memory.

Inside behind the first drive bay is where the NVMe drives are installed. This unit was shipped with two 400GB NVMe drives which are used for storage caching.

Quick start
The NAS ships with a quick start guide which I will run through below. The first step is the installation of the SATA drives. Very straight forward to pop the drive caddy out of the NAS.

The drive caddies are do not require any tools to install the hard drive, which is nice.

The caddy also has rubber gromets that support the drive to help minimise noise generated by vibrations.

Inserting the drives is a simple process.

And then they can be locked with the included key to stop someone from ejecting the drives again.

Then it is a case of plugging it into the power and network then discovering the device to configure it.


Initial configuration
I used the tool to find the NAS on my network or you could just look in DHCP to find the address.

Hit the IP address in a web browser to hit the login screen.

The default password needs to be updated.

And this is the spec of the system I am working with.

Conclusion
The initial setup on this device was a doddle. It took me less than 30 minutes from unboxing to logging into the NAS. In the next part of this series I will explore changing the default storage configuration on the device, how to deploy a virtual machine and look at the speed differences with and without SSD caching enabled.


4 Responses
[…] Part 1 – What is it […]
[…] Part 1 – What is it […]
[…] on from my three-part series on setting up a Synology NAS, I thought I would take a look at some of the other functionality on […]
[…] some of my previous blog posts, I have been exploring the functionality and capabilities of a Synology NAS which so far has been […]