Migrate virtual machines to new Synology NAS.
Background
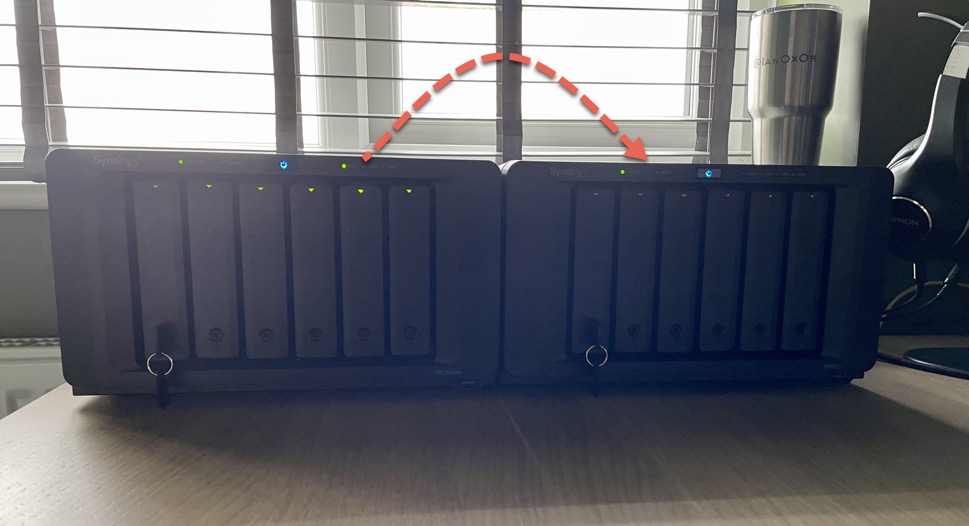
I had a requirement to migrate my content from a Synology DS1621XS+ to a DS1621+.
Similar NAS, both 6 drives bays, just one is intel CPU based and the other is AMD. Now Synology provides guidance on the best way to migrate settings and data from an existing NAS to a new one, but all the available options did not quite work out for me.
Synology has a tool called Migration Assistant, which does just that, but the target NAS needs to have more available capacity than the source NAS, which I don’t have in this case so that plan was out. All I wanted to move was three virtual machines, so I thought why not try and create a Virtual Machine Manager cluster and move the virtual machines that way. Now I created a cluster fine, that part is straightforward, but to enable migration of virtual machine workloads, you need to pay for an additional Virtual Machine Manager Pro license, which again I don’t have. This is a one-off task, so I did not need that, although there is a 30-day trial available.
That leaves me with a final option. Export the virtual machines to OVA format and then back them up to a remote NAS using the Synology Hyper Backup tool. As this is a one-off migration, I was not too concerned about the extra time required to perform the steps.
How to
Step 1 – Export existing virtual machines to OVA format
OVA or Open Virtualisation Format is a common way to package a virtual machine for distribution to allow the import of the virtual machine to hypervisors such as VMware ESXi or KVM. To do this within Virtual Machine Manager is easy as I will demonstrate below.
Open Virtual Machine Manager, select the VM and choose export.
Choose the shared folder to export the OVA too. If the shared folder does not exist, you will be asked to create one at this stage.
And repeat for all the VM’s required.
Step 2 – Create Hyper Backup job
Hyper backup utilises a second NAS as the target for the backup files that it creates. Hyper backup needs to be installed on both NAS devices and a tool called Hyper Backup Vault needs to be installed on the target NAS. I will run through the steps below but they are also detailed in Synologys guide for migration.
Assuming Hyper Backup and Hyper Backup Vault are installed on the target NAS, the next step is to enable the rsync service from the control panel on the target NAS device. This will enable us to use the NAS as a remote backup repository.
Next, we will launch Hyper Backup on the source NAS, the one where we created the OVA files in step 1.
When the backup wizard launches, we need to create a job that will target a remote NAS device.
Enter the details for the target NAS and choose the backup location. The NetBackup folder should already exist.
Choose the VM_backups shared folder from the source NAS to backup.
You may choose to backup application settings as well, I was not concerned with this.
Define a backup schedule if required.
Define retention policy, if required. The default is 256 iterations, I changed mine to 3.
The job will now be created, click backup now.
And wait for the job to complete.
We can check the backup file exists on the target NAS by browsing the shared folder structure.
Step 3 – Restore the backup
The restoration process will unpack the HBK file referenced in the previous screenshot and restore the folder structure containing the OVA files that will allow us to import them into Virtual Machine Manager on the target NAS.
Launch Hyper Backup on the target NAS and click the restore/data option as shown below.
Click Restore from the existing repository
Browse the local folder for the file to restore from.
Chose the folder where the backup file exists.
You may choose to recover the system config, this is automatically backed up. I did not want to do this.
Choose the recovery point.
Confirm that everything looks good.
Wait for restoration to complete.
Et voilà
Browsing the shared file structure in File Station shows we now have the 3 OVA files as expected, ready to import.
Step 4 – Import the OVA
In this step we will import the OVA files to register the virtual machines on the target NAS and power on a VM to prove that the process works.
Open virtual machine manager, navigate to virtual machine and then choose the import option.
Choose to import OVA files.
Browse to the OVA file.
Choose the target NAS to deploy the OVA too. I have the option of two as they are in a cluster during this operation.
The VM config is captured in the OVa, so things like name, CPU, Memory etc will all be the as they were defined on the source side.
Remember to change the virtual network to the target NAS.
Choose who is allowed to interact with the VM.
Ensure other settings look ok.
And apply.
Then once the VM is imported, power on as normal and ensures everything works as expected. I was expecting some complaints from my operating system due to changing the underlying CPU architecture from Intel to AMD, but it worked fine.
Conclusion
This was a bit of a convoluted way of migrating virtual machines, and if this were to happen on a regular basis, IE something similar to vMotion, then it would be worth investing in the VMM Pro license. What this post did demonstrate though is the ease of setup for Hyper Backup and the various options available for sending backups to multiple locations, including cloud-based object storage.


