Azure AD Connect – How to configure for Office 365 password sync
I recently had to deploy ADFS as part of a roll out of Office 365 in a non persistent Horizon View VDI environment. Part of the setup process for this is to sync on premises active directory with Azure AD / Office 365. To achieve this Microsoft have recently replaced the DirSync tool with Azure AD Connect.
Below are the steps I took to configure Azure AD Connect to hook into our corporate Office 365 environment. This guide assume you already have ADFS configured in your environment. There is an excellent blog post on how to configure this here – http://nolabnoparty.com/en/adfs-3-0-setup-upn-suffix-for-office-365-sso-pt-1/
Step 1: Agree to license terms and continue

Step 2: Choose Express or Customize settings. I chose customize.

Step 3: Install required components. If you do not tick any box, the setup will proceed with a local DB and will create a local user account.

Step 4: Select user sign in type. I am using ADFS to hook into Office 365

Step 5: Connect to Office 365 / Azure AD with your Office 365 Global Admin account

Step 6: Connect AD Connect to your local AD directories. Specify appropriate credentials to access the domain

Step 7: Confirmation which domains will be added to synchronisation. Note the warning about the .local domain not being added. This is because the UPN of the user account synchronised with Office 365 should have been changed to match the mail domain for the organisation.

Step 8: Specify which OU’s you would like to synchronise with Office 365 / Azure AD. Ensure you specify OU’s containing the correct user accounts.

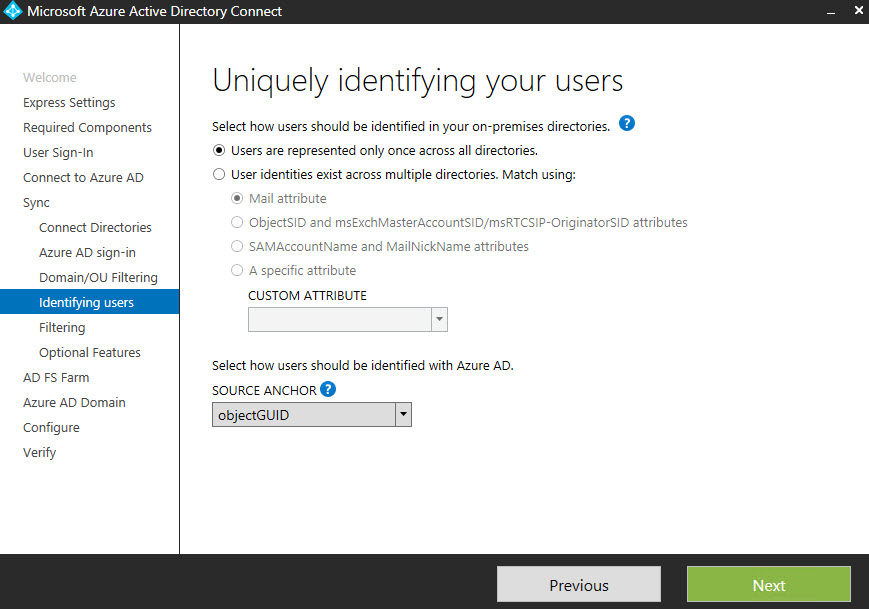
Step 9: Specify how to identify users. Below is set to defaults

Step 10: Select what you would like to synchronise. I only need to have password synchronisation

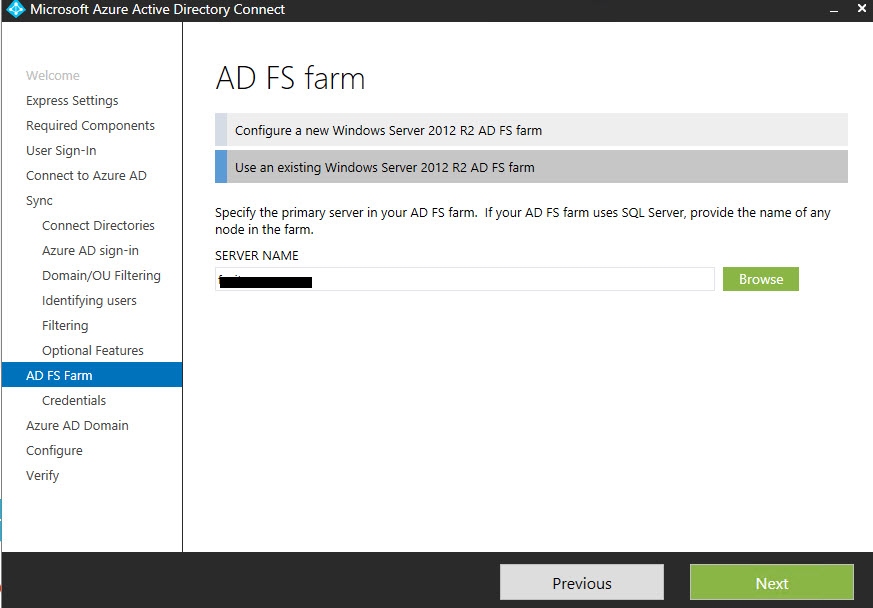
Step 11: Hook Azure AD Connect into existing AD FS farm. I specified the local server name rather than the published service name.

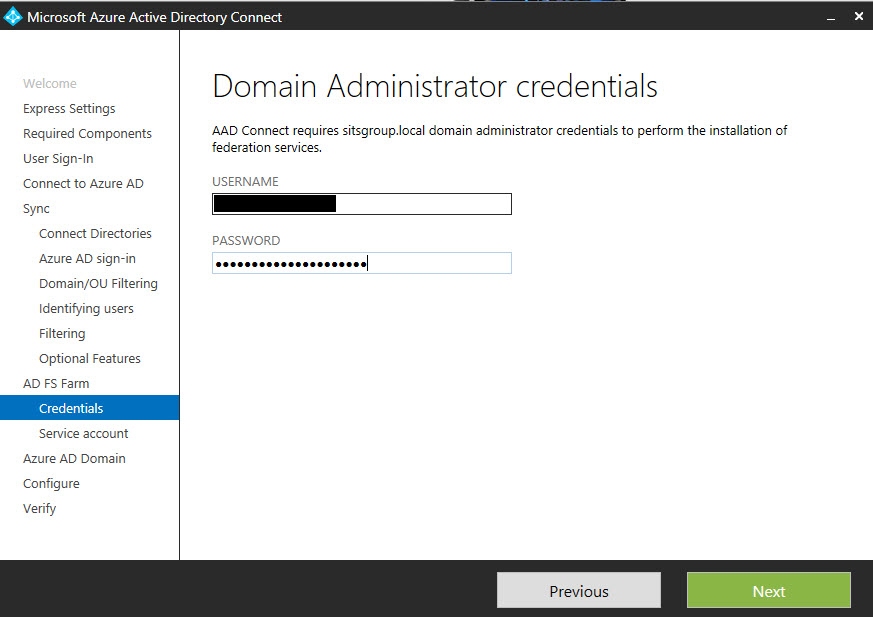
Step 12: Specify account used to hook into ADFS. You should already have a ADFS service account that can be used for this purpose

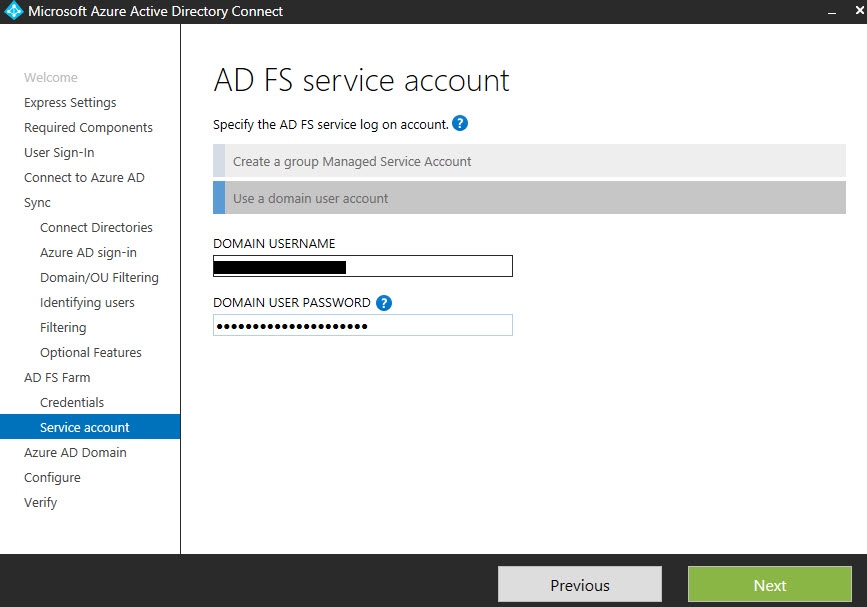
Step 13: Set ADFS service account. I used the same credentials as step 12

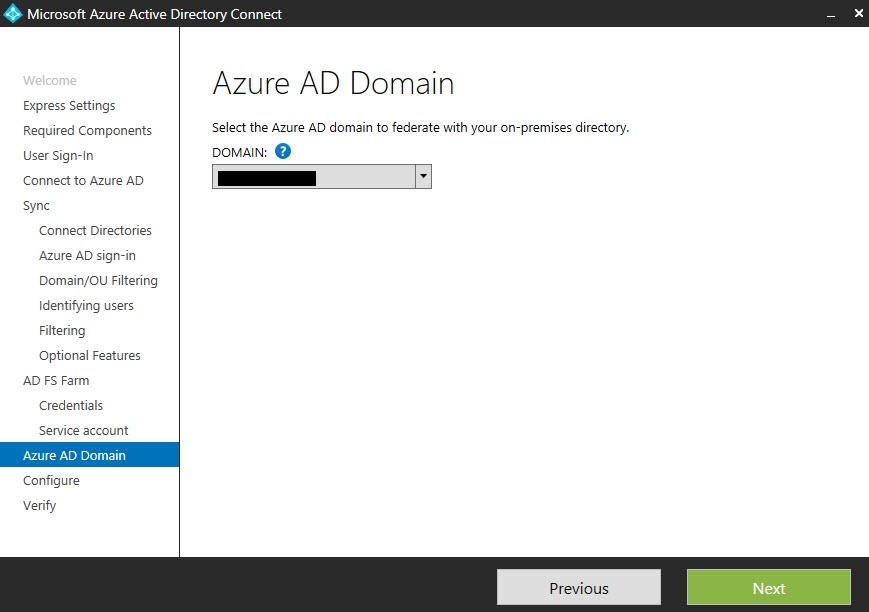
Step 14: Select the domain to federate. This will be the mail domain that you have specified for primary UPN on user accounts. (domain.com rather than domain.local)

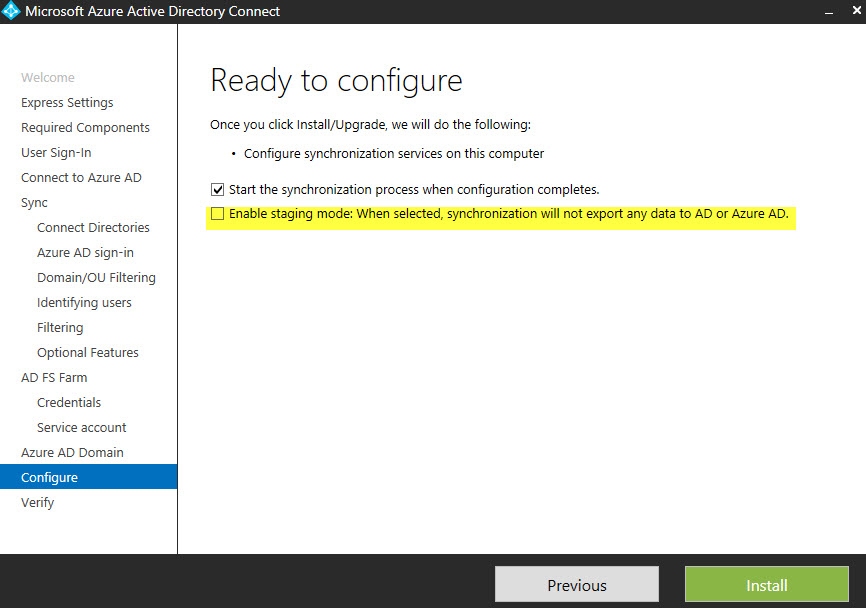
Step 15: Choose to synchronise everything now or stage the data. In hindsight I should have stage the data and ensure the correct accounts were synchronised.

Step 16: Once installation is complete Azure AD Connect needs to verify that the ADFS environment is available from inside and outside the corporate network. Click verify

Step 17: ADFS test passed. Installation is complete at this point

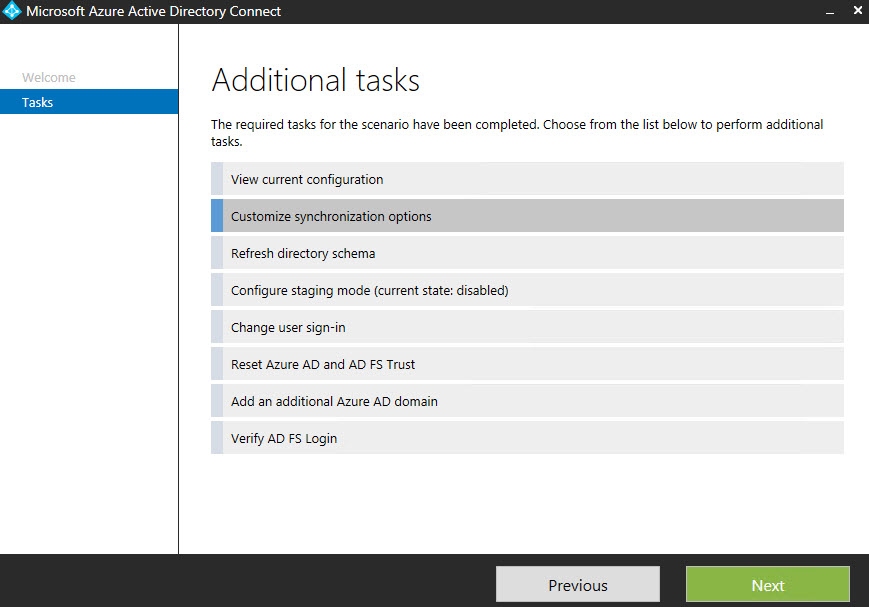
Once Azure AD Connect setup is complete, a new icon will appear on the desktop. You can launch the application to make changes to the setup if required. Note that synchronisation between local and Azure AD will be paused whilst the wizard is running.
Step 1: Options below, I will show you how to amend which OU’s to synchronise

Step 2: Provide Office 365 admin credentials

Step 3: Specify AD credentials to hook into local active directory

Step 4: Amend selected OU’s as required
Step 5: Changes complete. Note the warning about Windows 10 device sync.

Hopefully you found this post useful.
Ian


